Solar energy is becoming one of the most reliable and cost-effective power solutions for homes and businesses. With rising electricity prices and increasing awareness about clean energy, many homeowners are now interested in learning how to mount solar panels on roof systems properly. A well-installed solar setup not only reduces electricity bills but also improves energy efficiency and property value.
Proper installation is extremely important because incorrect mounting can affect solar panel performance, damage the roof, or create safety risks. Whether you are planning a DIY setup or hiring professionals, understanding the basics of mounting solar panels on roof helps you make better decisions and avoid expensive mistakes.
This guide explains everything you need to know about roof mounting solar panels, including roof types, installation steps, tools, safety measures, maintenance tips, and common errors to avoid. By the end of this article, you will have a clear understanding of how solar panels are securely installed for long-term performance and durability.
Understanding Roof Mounting Solar Panels
What Does Roof Mounting Mean?
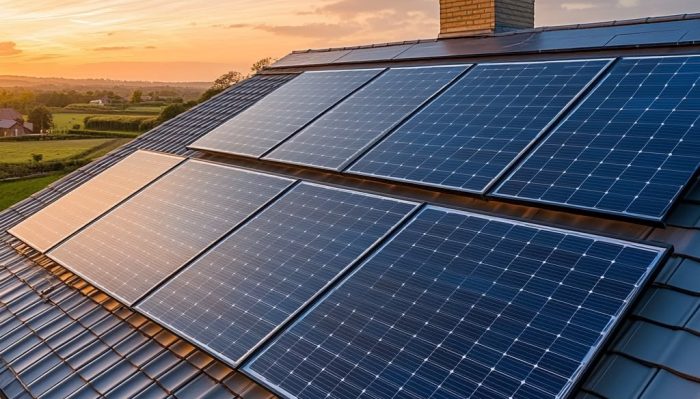
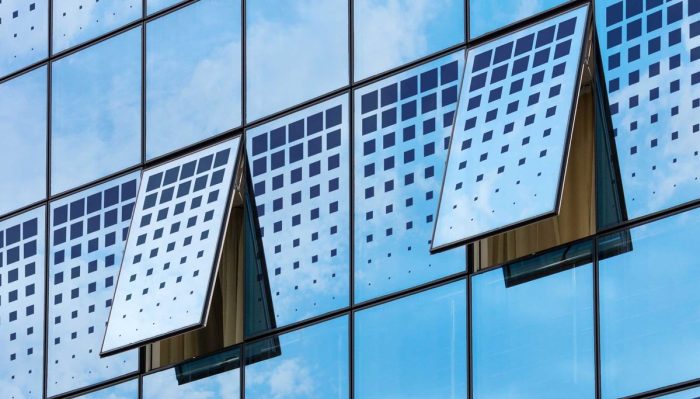
Roof mounting refers to installing solar panels directly onto the roof of a home, commercial building, or vehicle using specialized mounting structures. These systems hold the panels securely in place while ensuring proper sunlight exposure.
Unlike ground-mounted systems, roof-mounted solar panels save space and make use of existing roof surfaces. This is one of the main reasons rooftop solar systems are widely used in residential properties.
Why Roof Mounting Is Popular
There are several benefits of roof mounting solar panels:
- Saves ground space
- Maximizes sunlight exposure
- Reduces electricity costs
- Improves property value
- Provides long-term energy savings
For homeowners in Pakistan, rooftop solar systems are especially beneficial because of the country’s abundant sunlight year-round.
Types of Roofs Suitable for Solar Panel Installation
Metal Roofs
Metal roofs are considered one of the best options for solar panel installation. They are durable, long-lasting, and usually require minimal drilling. Standing seam metal roofs are particularly ideal because mounting brackets can attach directly without creating roof penetrations.
Tile Roofs
Tile roofs can also support solar systems, but installation requires additional care. Installers may need to temporarily remove tiles to place mounting hardware securely. Broken or weak tiles should be replaced before installation begins.
Asphalt Shingle Roofs
Asphalt shingles are the most common residential roofing material and work well with solar mounting systems. Installers use flashing and waterproof sealing techniques to prevent water leaks during installation.
Flat Roofs
Flat roofs require tilted mounting structures to position solar panels at the correct angle for maximum sunlight exposure. Proper drainage and wind resistance are also important considerations for flat roof installations.
Also Read: Can you install solar panels on a metal roof
Essential Tools and Equipment Needed
Before starting the installation process, it is important to gather the correct tools and equipment.
Solar Mounting Hardware
The main components include:
- Mounting rails
- Roof anchors
- Clamps
- Flashing
- Bolts and fasteners
These components create a stable foundation for the solar panels.
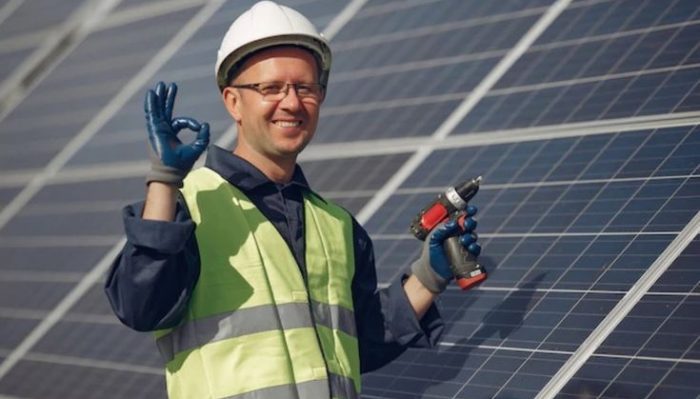
Safety Equipment
Safety should always come first during rooftop installation. Important safety gear includes:
- Safety harness
- Gloves
- Hard helmet
- Non-slip shoes
- Ladder stabilizer
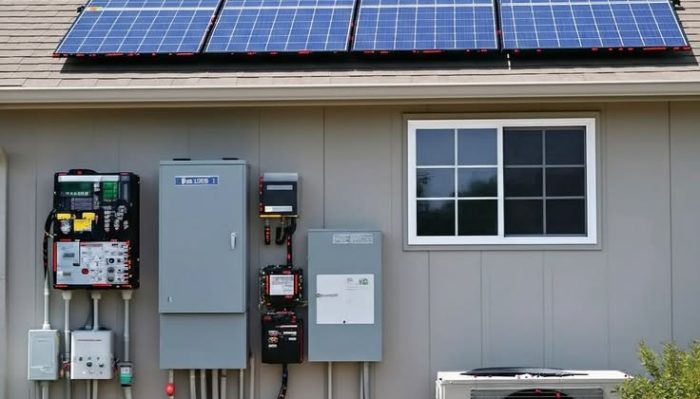
Electrical Components
Solar systems also require electrical equipment, such as:
- Solar inverter
- Wiring cables
- Junction boxes
- Disconnect switches
Professional electrical work is highly recommended for safe system operation.
How to Mount Solar Panels on a Roof Step by Step
Step 1 – Inspect and Measure the Roof
The first step is evaluating the condition of the roof. Check for cracks, leaks, or damaged areas before installation. A strong roof structure is necessary to support the additional weight of solar panels.
You should also measure the roof dimensions and analyze sunlight exposure. South-facing roofs generally receive the best sunlight in Pakistan.
Shade from nearby buildings, trees, or water tanks should be minimized to improve energy production. For more information, visit the National Renewable Energy Laboratory (NREL)
Step 2 – Mark Roof Rafters
Roof rafters provide the structural support needed for mounting hardware. Installers carefully locate and mark these rafters before drilling.
Attaching mounting brackets directly to rafters ensures better stability and wind resistance.
Step 3 – Install Mounting Brackets
This is one of the most important stages in mounting solar panel on roof systems.
Installers drill pilot holes into the marked rafters and secure mounting brackets using bolts. Waterproof flashing is then added around the mounting points to prevent roof leaks.
Proper mounting of solar panels on the roof always starts with strong and secure bracket installation.
Step 4 – Attach Mounting Rails
After installing brackets, aluminum mounting rails are attached horizontally across the roof.
The rails must be perfectly aligned and evenly spaced because they support the solar panels. Installers also test rail stability before moving to the next step.
Strong rail installation improves the system’s durability during heavy wind and rain.
Step 5 – Secure Solar Panels
Solar panels are carefully placed onto the rails and secured using clamps and fasteners.
Installers ensure proper spacing between panels for airflow and maintenance access. Tightening the clamps correctly is important to avoid panel movement during storms or strong winds.
This stage completes the physical process of roof-mounted solar panels.
Step 6 – Connect Electrical Wiring
Once the panels are mounted, the electrical wiring process begins.
Solar panels can be connected in series or parallel depending on the system design. Wiring then connects to the inverter, which converts solar energy into usable electricity for the home.
Because electrical work involves safety risks, licensed professionals should handle this step whenever possible.
Step 7 – Final Inspection and Testing
The final step includes checking all mounting points, electrical connections, and waterproof seals.
Installers test the system to confirm proper energy generation and safe operation. A complete inspection helps identify any loose fittings or installation issues before the system becomes fully operational.
Best Angle and Direction for Solar Panels
Ideal Direction in Pakistan
In Pakistan, south-facing solar panels generally produce the highest electricity output because they receive maximum sunlight throughout the day.
Recommended Tilt Angle
The ideal tilt angle usually ranges between 25 and 35 degrees, depending on the location and roof structure. Proper tilt improves solar energy absorption and system efficiency.
Avoiding Shade Problems
Even small shadows can reduce solar panel performance. Avoid installing panels near:
- Trees
- Water tanks
- Neighboring buildings
- Satellite dishes
Keeping panels free from shade ensures better long-term electricity production.
Common Mistakes to Avoid When Mounting Solar Panels on the Roof
Ignoring Roof Condition
Installing solar panels on a damaged roof can lead to structural problems and expensive repairs later.
Incorrect Panel Spacing
Poor spacing affects airflow and reduces cooling efficiency, which may lower solar performance.
Poor Waterproofing
Improper sealing around mounting holes can cause roof leaks during rain.
Unsafe DIY Installation
Roof work and electrical installation involve serious safety risks. Lack of experience may result in injuries or system damage.
Using Low-Quality Mounting Materials
Cheap mounting hardware may rust or weaken over time, reducing the lifespan of the solar system.
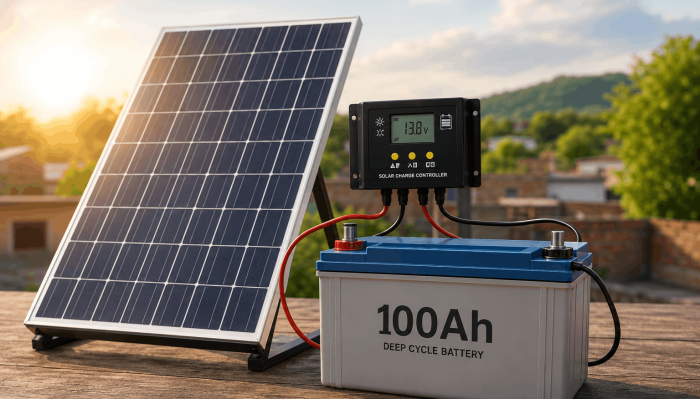
Mounting Solar Panels on an RV Roof
How RV Solar Installation Is Different
Mounting solar panels on RV roof systems differs from home installations because RV roofs are lighter and mobile.
RV solar systems are designed for portability, travel, and battery charging.
Flexible vs Rigid Solar Panels
Flexible panels are lightweight and easier to install, while rigid panels generally offer higher efficiency and durability.
Best Adhesive and Mounting Methods
Common RV mounting methods include:
- Z brackets
- Adhesive mounts
- Lightweight rails
Some RV owners prefer non-drilling adhesive solutions to avoid roof damage.
Should You Install Solar Panels Yourself or Hire Professionals?
Benefits of DIY Installation
DIY solar installation can reduce labor costs and provide a learning experience for homeowners with technical knowledge.
Risks of DIY Roof Mounting
However, improper installation may lead to:
- Roof leaks
- Electrical hazards
- Structural damage
- Warranty issues
Advantages of Professional Installation
Professional installers understand structural safety, electrical standards, and proper mounting techniques.
Hiring experts often results in:
- Faster installation
- Better system performance
- Improved safety
- Compliance with local regulations
For most homeowners, professional installation is the safer and more reliable option.
Cost of Roof-Mounted Solar Panels
The cost of mounting solar panels on the roof depends on several factors, including:
- Roof type
- System size
- Mounting hardware quality
- Labor costs
- Electrical components
In Pakistan, residential solar installation costs can vary significantly depending on energy requirements and equipment quality.
Although the initial investment may seem high, solar systems provide long-term savings through reduced electricity bills and net metering benefits.
Maintenance Tips After Installing Solar Panels
Regular Cleaning
Dust and dirt can reduce solar efficiency. Cleaning panels regularly helps maintain energy production.
Monitor System Performance
Use monitoring systems to track electricity generation and identify performance issues early.
Check Mounting Hardware
Inspect brackets, rails, and fasteners periodically to ensure they remain secure.
Schedule Professional Inspections
Professional solar installation service inspections help detect wiring problems, roof issues, or damaged components before they become serious.
Conclusion
Learning how to mount solar panels on roof systems properly is essential for achieving safe, efficient, and long-lasting solar energy performance. From selecting the right roof type to installing brackets, rails, and electrical wiring, every step plays an important role in the success of the system.
Proper mounting improves durability, maximizes electricity production, and protects your roof from potential damage. While some homeowners may consider DIY installation, professional installers often provide safer and more reliable results.
As electricity prices continue to rise, investing in rooftop solar energy can provide long-term financial savings and environmental benefits. With proper planning, quality equipment, and correct installation methods, roof-mounted solar panels can become a dependable energy solution for years to come.
If you are planning to install a rooftop solar system and want professional guidance, contact us today for expert solar solutions, reliable installation services, and customized energy systems designed for your needs.
Frequently Asked Questions
Can I mount solar panels on any roof?
Most roof types can support solar panels, including metal, tile, asphalt shingle, and flat roofs. However, the roof should be structurally strong and in good condition.
How long does roof-mounted solar installation take?
Most residential installations take one to three days depending on system size and roof complexity.
Do solar panels damage the roof?
Properly installed solar panels should not damage the roof. Professional waterproofing techniques help prevent leaks.
What is the best roof angle for solar panels?
In Pakistan, the recommended angle usually ranges between 25 and 35 degrees for optimal sunlight exposure.
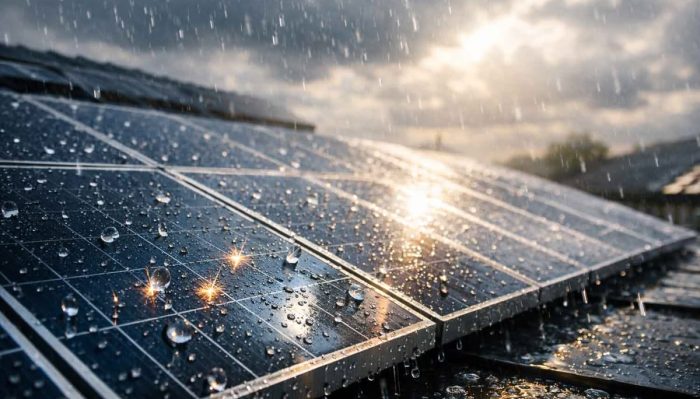
Is mounting solar panels on roof safe during rainy weather?
Installation should generally be avoided during rain because wet surfaces increase safety risks.
How much weight do solar panels add to a roof?
Most rooftop solar systems add approximately 15–20 kg per square meter, depending on panel type and mounting structure.
Can I install solar panels without drilling holes?
Yes, some systems use adhesive mounts or ballast systems, especially for RVs and flat roofs.
Are permits required for roof mounting solar panels?
Permit requirements vary by area and local regulations. Professional installers usually handle approval processes.
How often should rooftop solar panels be maintained?
Basic cleaning and inspections every few months are usually enough to maintain good performance.
What is the lifespan of rooftop solar mounting systems?
High-quality solar mounting systems can last 20 to 30 years with proper maintenance.